The following instructions will guide you through the CSR generation process on Microsoft IIS 5 & 6. To learn more about CSRs and the importance of your private key, reference our Overview of Certificate Signing Request article. If you already generated the CSR and received your trusted SSL certificate, reference our SSL Installation Instructions and disregard the steps below.
1. Open Internet Information Services (IIS) Manager
Click Start, Control Panel, Administrative Tools, and then select Internet Information Services (IIS) Manager.
2. Navigate to Website Properties
In the left menu, click + next to your local computer and then Web Sites.
Right-click the website (i.e. Default Web Site) that you want to protect and click Properties.
3. In Directory Security, select Server Certificates
In the Default Web Site Properties window, select the Directory Security tab, click Server Certificate…, and then Next.
4. Select Create a New Certificate
Then click Next.
Note: For renewing an existing SSL Certificate, select “Renew, Remove, or Replace your certificate” and skip to Step 7.
5. Select Prepare request now, but send it later
Then click Next.
6. Enter a Friendly Name
Enter a friendly name for your certificate, select a Bit Length of 2048, and click Next, without checking the boxes. 
Note: Please name the certificate something you can easily recognize in the future. This will only be an internal reference name and will not be part of your SSL certificate.
7. Follow the wizard to enter in your organization and website information
Enter your legally incorporated Organization Name and Organizational Unit such as “IT Security” and click Next.
Enter your Common Name which will be the FQDN (fully qualified domain name) on your SSL certificate.
Note: For Wildcard Certificates, you must add the asterisk symbol in the left furthest sub-domain (i.e. *.domainname.com) which is what enables an unlimited number of coverage at that specific level.
Select the Geographic Location for your company and click Next.
8. Save the CSR
Click Browse to specify the location where you want to save the CSR as a “.txt” file and click Next.
9. Finish
Review the Request File Summary and if changes are required, click Finish.
10. Generate the Order
Locate and open the newly created CSR from the specified location you choose in a text editor such as Notepad and copy all the text including:
-----BEGIN CERTIFICATE REQUEST-----
And
-----END CERTIFICATE REQUEST-----
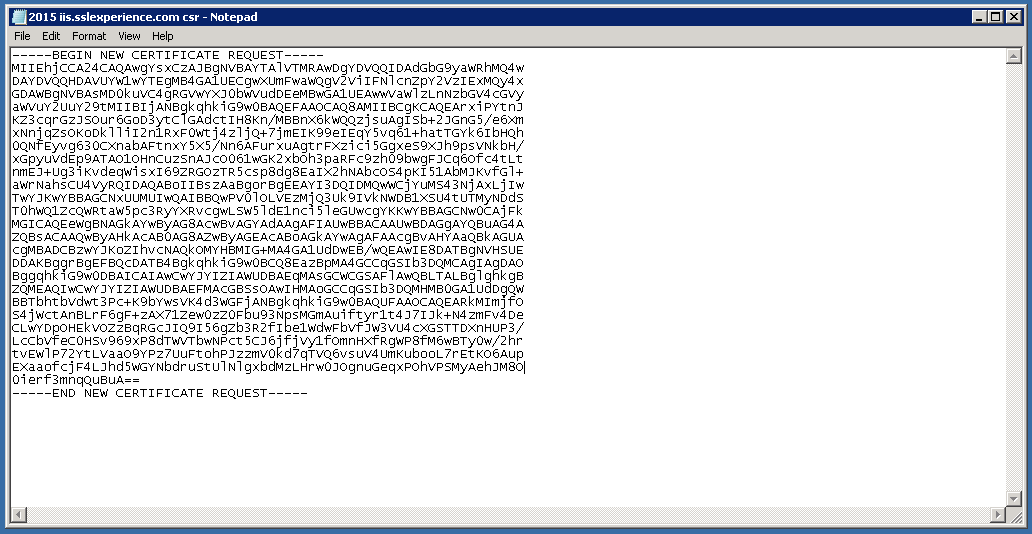
Return to the Generation Form on our website and paste the entire CSR into the blank text box and continue with completing the generation process.
Upon generating your CSR, your order will enter the validation process with the issuing Certificate Authority (CA) and require the certificate requester to complete some form of validation depending on the certificate purchased. For information regarding the different levels of the validation process and how to satisfy the industry requirements, reference our validation articles.
After you complete the validation process and receive the trusted SSL Certificate from the issuing Certificate Authority (CA), proceed with the next step using our SSL Installation Instructions for Microsoft IIS 5 & 6.